杭州
返回当前城市
C
常州
H
杭州
湖州
J
嘉兴
金华
L
六安
临沂
N
宁波
南通
南京
Q
青岛
S
苏州
绍兴
T
台州
W
无锡
温州
X
徐州
首页
学历进修
在职研究生
财会培训
职称评审
出国留学
关于春华
春华网校
服务热线:
400-9988-500
新闻类别
学历提升
行业新闻
历年真题
招生问答
招考政策
财会培训
招生问答
行业新闻
历年真题
招考政策
研究生
招考政策
出国留学
出国政策
设计培训
常见问题
软件技巧
行业新闻
学员作品
职称评审
评审政策
办公商务
学习窍门
办公资讯
电工数控
常见问题
行业资讯
资格考证
报考指南
行业资讯
公司动态
内部资讯
春华公益
新校开业
首页
>
设计培训
>
软件技巧
>
PS如何快速抠图教程
PS如何快速抠图教程
2021-06-05 17:20:26 作者:春华程老师 来源: 点击量:2550
第一步:
双击启动Photoshop。
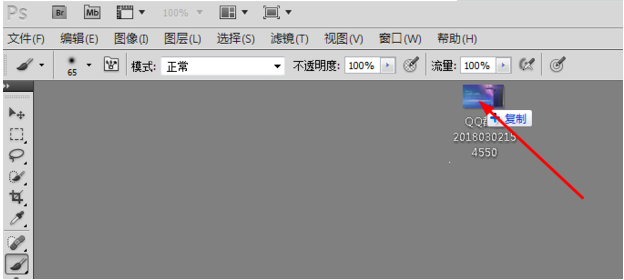
第二步:
将需要进行抠图的原图拖入运行界面
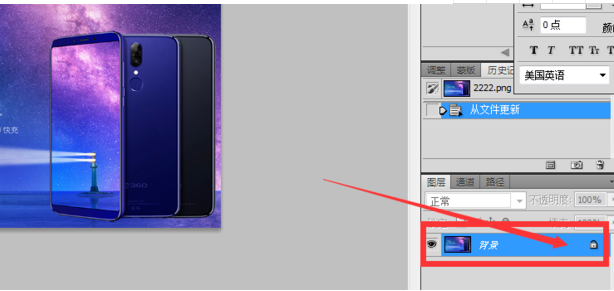
第三步:
点击图片后的锁,点击“确定”
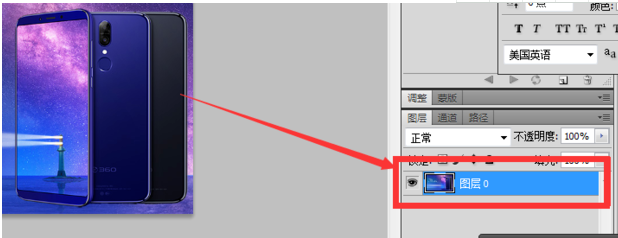
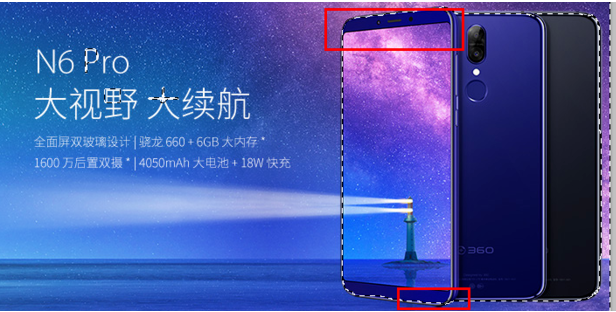
第四步:
如图所示,原来的图片被框选住,点击“快速选择工具”
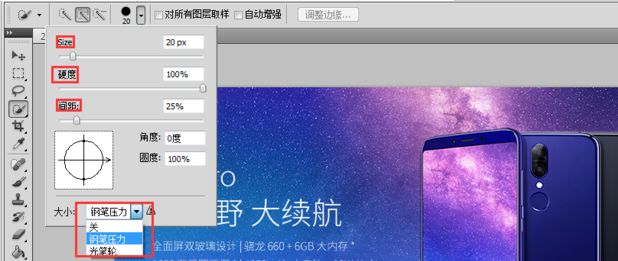
第五步:
在上方调整工具的大小等,套索选中不需要的部分,点击“delete”如图所示
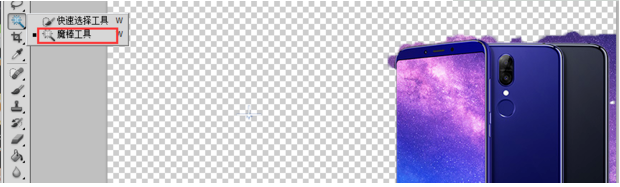
第六步:
用魔棒工具修复那些没有清除干净的色块。
第七步:
抠除成功,如果精细修图还需要调节套索大小,用钢笔细描,如果不是设计,这两个工具基本够用,抠图时细心一些,关于精细化抠图这里就不做叙述了,大家可以反复练习感受。
平面设计
上一篇:如何让你的电商标题更吸引人?平面高手总结了这四个方法
列表
下一篇:UI设计技巧|PS实现照片水彩画效果
相关资讯
需要记牢的cad制图小技巧!
办公软件使用中出现误删该怎么办
平面设计师的工作内容
2025室内设计培训的学习流程
cad制图软件小技巧!
室内设计培训有哪些学习流程
平面设计培训要学习哪些内容?
平面设计需要学习的专业知识
精品推荐
更多>>
数控编程培训
¥0.00
金领管理班
¥0.00
实战入门班
¥0.00
初级协议班
¥0.00
电工零基础培训
¥0.00
CPA(注册会计师)
¥0.00
热门标签
成人学历提升
电脑培训
平面设计
室内设计培训
会计培训
春华教育
小鹅通
官网商城
官网微信
官网客服
免费预约
移动端
购课
在线留言
TOP